How I Actually Use AI to Cut My Video Editing Time in Half
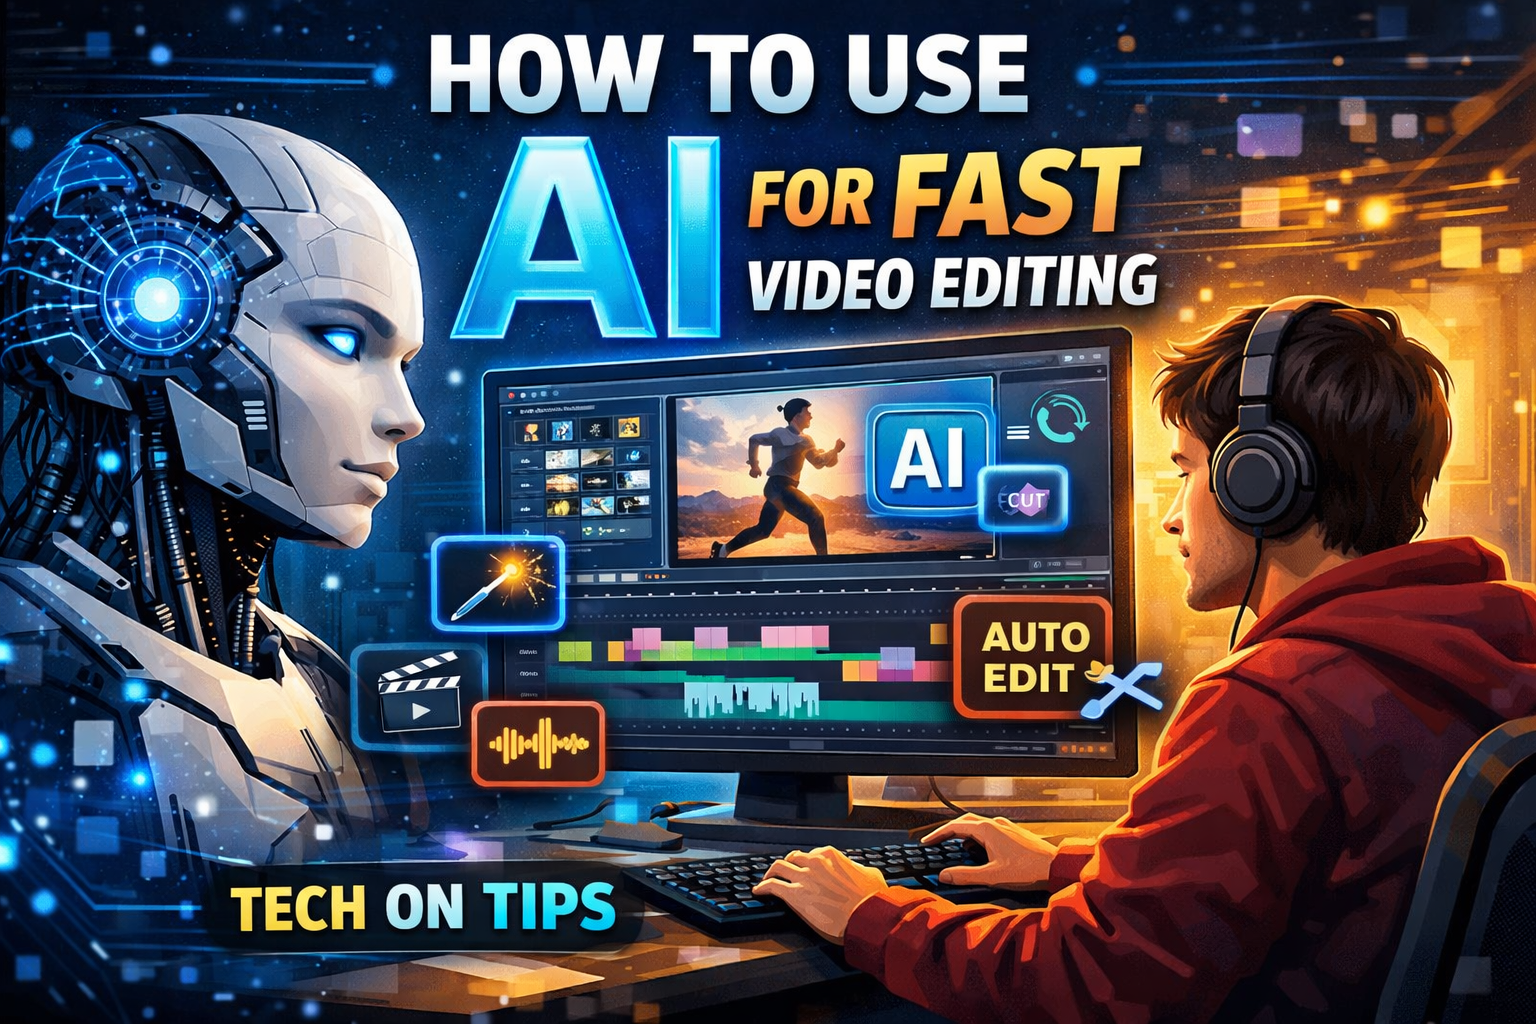
I used to dread sitting down to edit a 40-minute podcast recording. Between trimming dead air, syncing B-roll, and writing subtitles by hand, a single episode could eat an entire afternoon. Over the past year, I've rebuilt my whole workflow around AI editing tools — not because it's trendy, but because it got my turnaround time down from a full day to about two hours. Here's what actually works, what doesn't, and where I still do things by hand.
What Changed, and Why It Matters
Traditional editing meant learning software like Premiere Pro or Final Cut, understanding pacing and cinematic theory, and putting in long hours for anything beyond a simple cut. AI tools have chipped away at that barrier in three specific ways I rely on weekly: editing by typing instead of clicking a timeline, automatic detection of dead space and filler, and effect suggestions based on the actual content of the clip.
The tools I use most — Descript, Runway ML, and CapCut — don't just cut on silence. They read the footage: identifying key moments, trimming unwanted pauses, applying transitions that match the pacing, and generating subtitles that stay in sync without manual adjustment. I won't pretend the tools are flawless — I still catch AI cutting a pause that was actually a deliberate dramatic beat, not hesitation — but the hit rate has gotten good enough that I trust the first pass and just clean up the edges. According to Adobe's 2025 creator survey, creators who adopted AI editing cut production time by roughly 65% on average, which lines up with what I've seen in my own workflow.
The Parts of My Workflow That Are Now Fully Automated
Editing by Transcript
Descript turned editing into something closer to editing a Google Doc. You delete a sentence in the transcript, and the corresponding video segment disappears, perfectly synced. For interviews and talking-head content, this alone saves me the most time — I'm not scrubbing a timeline anymore, I'm just reading and deleting.
Silence and Pause Removal
I run long recordings through Gling or the AutoPod plugin before I touch anything else. They flag long pauses, audible breathing, and non-speech gaps, and I approve the cuts in bulk. On a typical hour-long recording this step alone used to take me 45 minutes manually; now it's closer to five.
Turning Long Recordings into Short Clips
For repurposing webinars or livestreams into TikTok and Reels content, I use Opus Clip. It scans for narrative hooks and emotionally strong moments and spits out a batch of vertical clips with subtitles and thumbnail options already attached. It's not perfect — I still reject about a third of what it suggests — but it turns a repurposing job that used to take a full day into an hour of picking favorites.
Effect and Transition Suggestions
Runway ML and Adobe Firefly Video adjust their suggestions based on content type: livelier transitions and color grading for travel or lifestyle footage, more restrained treatments for corporate or explainer content. Background removal and object tracking, which used to require real compositing skill, are now single commands.
Subtitles and Translation
CapCut and Submagic generate subtitles that are accurate enough that I rarely correct more than a word or two per minute of footage, and they handle stylized captions and multi-language translation in the same pass. Given how much watch time comes from sound-off viewing on social platforms, this has become a non-negotiable step in my process, not an optional add-on.
My Actual Toolkit
- Descript: My default for anything transcript-heavy — podcasts, interviews, tutorials. Also handles filler-word removal and AI voice dubbing.
- CapCut: My go-to on mobile and for quick turnarounds. Strong automatic cuts and subtitle generation.
- Runway ML: For anything that needs object removal, frame expansion, or effects I couldn't pull off manually.
- Opus Clip: Strictly for repurposing long-form into short vertical clips.
- Premiere Pro with Sensei AI: I still finish most projects here, using auto-reframe for multi-format exports and automated color matching as a starting point I then adjust by eye.
The Workflow, Step by Step
- Import and sort: Upload raw footage and let the tool do initial categorization.
- Transcribe and rough-cut: Let AI transcribe, then edit by deleting text rather than scrubbing a timeline.
- Clean up audio: Run automatic silence and pause removal.
- Add B-roll: Insert supplementary footage at the points AI flags as highest-impact — though I always double-check these picks against my own sense of pacing.
- Subtitle and caption: Generate and lightly proofread automatic subtitles.
- Color and finish: Let AI apply a first-pass color correction, then adjust manually for consistency across shots.
- Export: Configure multi-format exports (16:9, 9:16, 1:1) with compression settings tuned per platform.
Where This Workflow Works Best
In my experience, AI editing shines on vlogs and talking-head content, tutorials that need reorganizing for clarity, video podcasts, and any project that needs to be sliced into multiple short-form pieces. Webinars and presentations also benefit — cutting technical dead air and producing a condensed highlight version is now something I barely think about.
Where I Still Do It Myself
I don't hand narrative or emotionally driven work over to AI. Documentaries, narrative shorts, and anything relying on precise emotional timing still need a human making the call on rhythm, cut points, and scene juxtaposition — AI consistently misses cultural context and comedic timing. Multi-camera shoots, complex lighting setups, and elaborate sound design still need real supervision from me, even if AI is handling some of the repetitive cleanup underneath.
Bottom Line
None of this replaced my editing judgment — it replaced the tedious parts that never needed it in the first place. If you're just starting out, don't try to automate everything at once. Pick the single step that eats the most of your time right now (for most people, that's silence removal or subtitles), automate that first, and build the rest of your workflow around what actually saves you hours rather than what looks impressive in a demo.